
Last year Oracle released its “Oracle Cloud Free Tier” program. This means that you can get your own Oracle cloud database for free – and what’s more, it’s *always* free, so the offer will not expire after a year and you are charged nothing except if you start using one of the paid options. In this blog post I will explain how you can request a free Oracle cloud database and install APEX on top of it. Please note that you need to enter a valid credit card during the sign-in process (a very small amount will be withdrawn and refunded, but nothing will be charged as long as you stay within the capacity limits of the free program).
At the time of writing of this blog post, the following is included in the free cloud offering:
- Databases
- Autonomous Transaction Processing or Autonomous Data Warehouse. 2 databases total, each with 1 OCPU and 20 GB storage.
- Storage
- 2 Block Volumes, 100 GB total. 10 GB Object Storage. 10 GB Archive Storage.
- Compute
- 2 virtual machines with 1/8 OCPU and 1 GB memory each.
- Additional Services
- Load Balancer: 1 instance, 10 Mbps bandwidth. Monitoring: 500 million ingestion datapoints, 1 billion retrieval datapoints. Notifications: 1 million sent through HTTPS per month, 1,000 sent through email per month. Outbound Data Transfer: 10 TB per month.
New accounts also have access to a 30-day trial period for an expanded set of services.
Step 1: Oracle Cloud Account Signup
- click on “Start for free” on the intro page https://www.oracle.com/cloud/free/
- Enter your Country/Territory and e-mail address, read the Terms of Use and click Next.
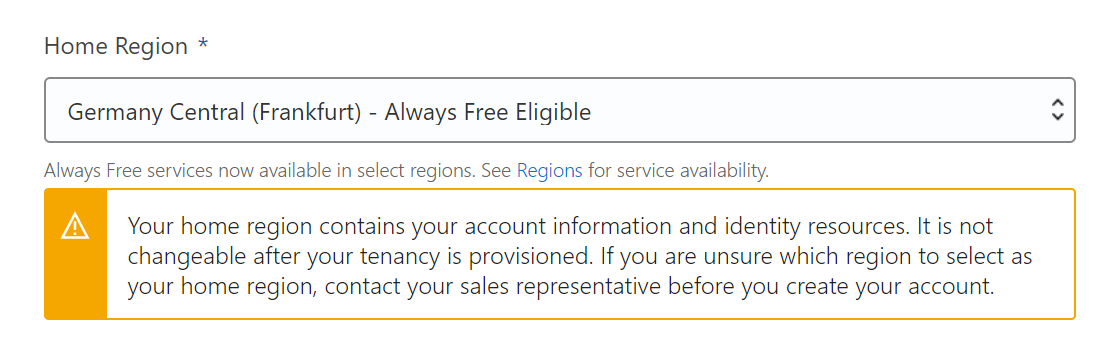
- Select “Personal Use” as Account Type and choose a unique Cloud Account Name (this will be used in service URL’s). Now for the Home Region you need to select a region where the “Always Free Eligible” option is available, I selected Germany Central (Frankfurt) because that’s the closest one to my own region (Belgium).
- Fill in your name and address details, and a valid mobile phone number. Click on “Next: Verify Mobile Number“.
- You should now receive a text message with a verification code. Enter the verification code in the Code text field (note that you only have two minutes for this) and click on “Verify Code“.
- In the next screen, enter a strong password and click on “Next: Payment Information“.
- You will get a message before entering the credit card details:
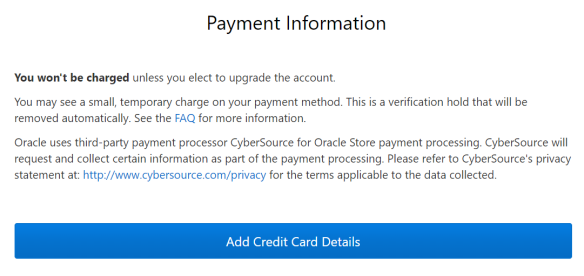
- Enter your credit card details and click on Finish.
- Check the checkbox to agree with the Terms and Conditions, and click on “Complete Sign-Up“. Your account will now be created.
- You will now receiver a confirmation e-mail. Click on “Sign In To Oracle Cloud” in the e-mail, or go to https://www.oracle.com/cloud/free/ and click on “Sign In To Oracle Cloud“.
- For the Cloud Account Name, enter the unique Cloud Account Name that you entered during the registration process (see above). Enter the strong password (see above) when it is requested.
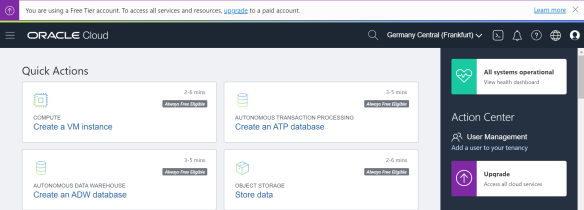
- You should now see the Oracle Cloud home page. Well done! :-)


Step 2: Create a free Oracle ATP Database
ATP stands for “Autonomous Transaction Processing“. It’s Oracle’s self-driving, self-repairing and self-securing Cloud Database, based on Oracle version 18c (at the time of writing this blog post).
Now let’s create our first free ATP database:
- Go to https://www.oracle.com/cloud/free/ and sign in with your Cloud Account Name.
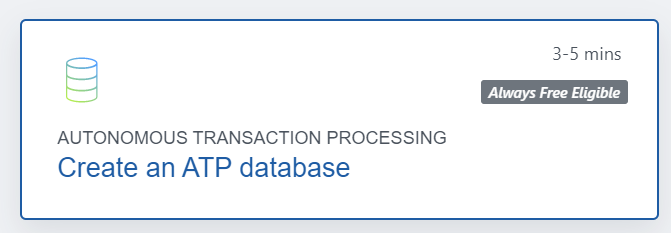
- Click on “Create an ATP database“.

- Fill in the following information:
- Compartment: leave as is.
- Display name: a user-friendly name, for example “My first ATP database”.
- Database name: for example, “MATTHIASDB”.
- Workload type: Transaction Processing
- Deployment type: Shared Infrastructure
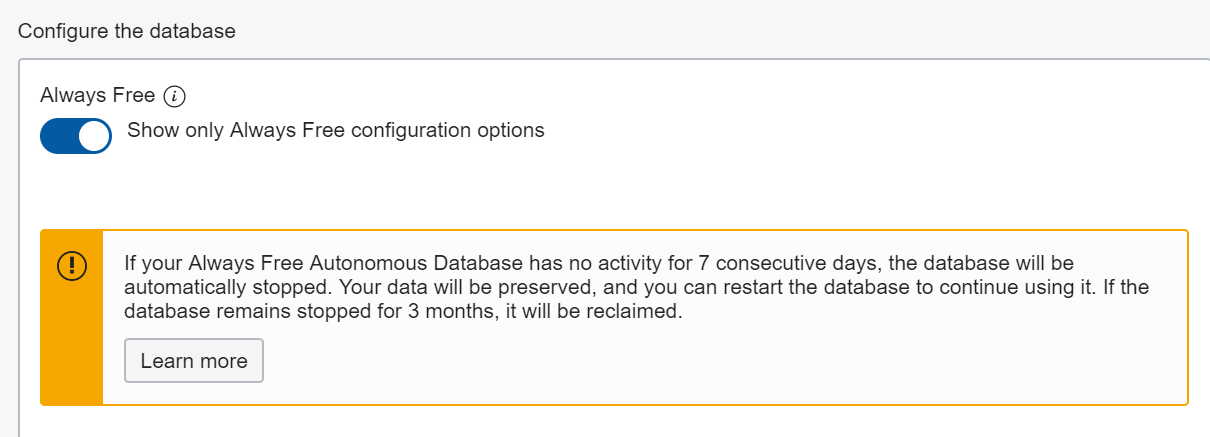
- Configure the database: make sure to leave the “Always Free” option to ON, so that only free options can be selected.

- Choose database version: 18c
- OCPU Count should be 1, Storage (TB) should be 0.02 (so 20 GB), and Auto scaling OFF.

- Fill in a password for the ADMIN database account.
- Choose network access: allow secure access from everywhere
- License type: License Included
- Click on “Create Autonomous Database”.
- You will now come to an overview screen where you will see the message “ATP Provisioning…”. This means that the creation of the database is in progress.

- After a while (it took only a couple of minutes when I tried) it should turn to green, your free ATP database is now ready!


Step 3: Use SQL Developer Web to connect to your free Oracle ATP Database
SQL Developer Web is the cloud version of the SQL Developer desktop application (which is also free, btw). You can use it to connect to your ATP database and browse database objects or run SQL queries.
- In the list of Autonomous Databases, click on the display name of your ATP database.
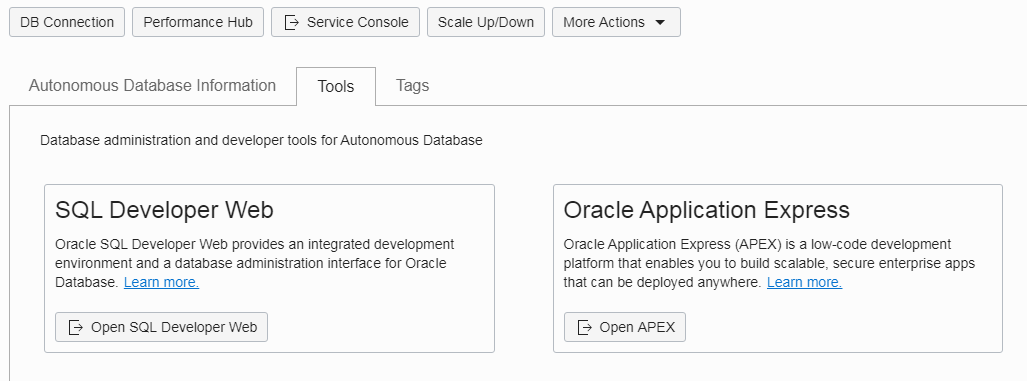
- Now click on the Tools tab (next to Autonomous Database Information).
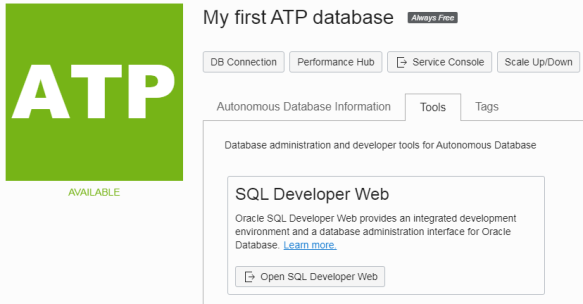
- Now click on “Open SQL Developer Web”.
- Log in with user ADMIN and the password you created earlier (see above). The SQL Developer Web environment should now load into your web browser.
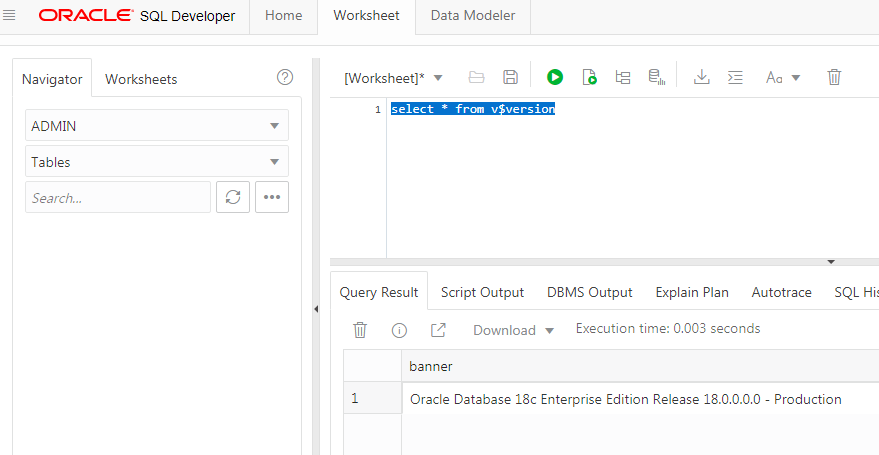
- Now try to run a query, for example put “select * from v$version” in the Worksheet window and click on the green arrow. You should see some output in the Query Result window:

- You can also browse database object using the Navigator window on the left side.

Please note that SQL Developer Web is a very basic tool compared to the desktop version of SQL Developer (which already exists for a very long time). It’s also possible to connect the desktop version of SQL Developer to your ATP Cloud Database, see for example here: https://dgielis.blogspot.com/2019/09/free-oracle-cloud-3-connecting-with-sql.html
Step 4: Access APEX in your free Oracle ATP Database
APEX (Oracle Application Express) is a low-code, web-based development platform that is included with Oracle ATP. The good news is that it’s already pre-installed, so when you have your ATP database ready, no additional steps are needed to install or configure APEX. At the time of writing, the version of APEX that is included with Oracle ATP is APEX 19.2.
- In the list of Autonomous Databases, click on the display name of your ATP database.
- Now click on the Tools tab (next to Autonomous Database Information).
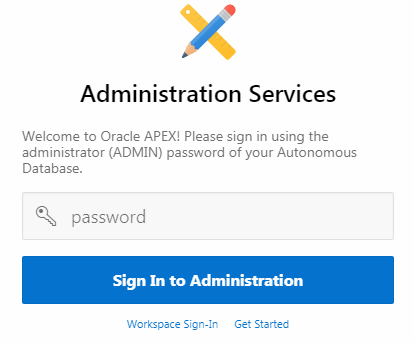
- Click on “Open APEX“.

- Log in with the password of the ADMIN database account (see above).

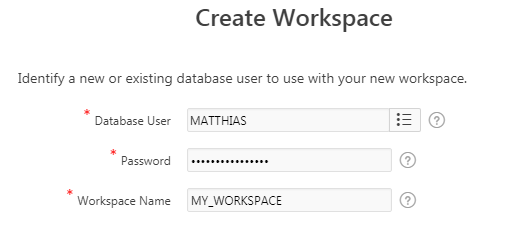
- Click on “Create Workspace” to create your first APEX Workspace. In this example, I entered MATTHIAS as database user and MY_WORKSPACE as Workspace name.

- Now in the Admin menu (top right of the page), click on “Sign Out“.
- Click on “Return to Sign In Page” and enter the Workspace name, user name and password that you just created.

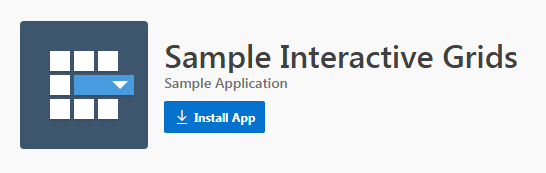
- Now click on “App Gallery”, “Sample Interactive Grids” and “Install App” to install the Sample Interactive Grids application in your workspace.
- If the installation went fine, click on App Builder and then on the small arrow next to the Sample Interactive Grids application to run it. Log in with the Workspace user that you created earlier (in my case, user MATTHIAS).
- That’s it! You have now successfully installed your first APEX application in your free Oracle ATP Database!
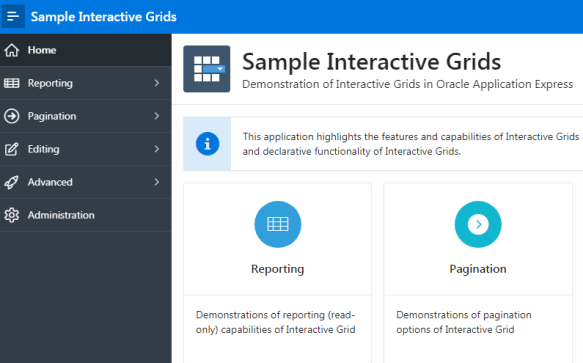
- The cool thing is that you now use this URL from everywhere, so you just created your first public APEX 19.2 application on Oracle Cloud!


In a future blog post I will explain some more things that you can do with your free Oracle Cloud account.
HTH
Matthias


