SQLcl (short for: SQL command-line) is a relatively new light-weight SQL command-line tool from Oracle, similar to the much older SQL*Plus tool, but easier to install and with some nice new features. In this blog post I will explain how you can use it to connect to Oracle ATP cloud databases.
Step 1: download and install SQLcl
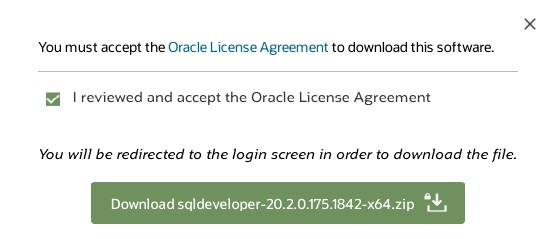
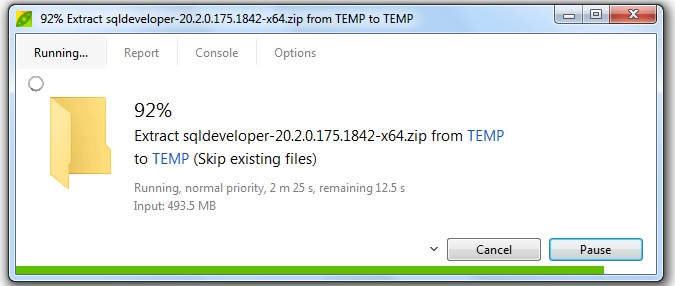
First, start by downloading and installing the SQLcl software. Installation is as simple as extracting the ZIP file to a new folder (a bit similar to the “installation” of SQL Developer). SQLcl is a Java-based tool, so you also need to have at least version 8 of the Java Runtime Environment (JRE) installed.
Once installed, you can easily test it by going into the “bin” folder where you extracted the software and then run the following command:
sql /nolog
Example from my computer (I’m on Windows 10):
c:\>cd "Program Files (x86)"/sqlcl/bin

c:\Program Files (x86)\sqlcl\bin>sql /nolog

SQLcl: Release 20.2 Production on Tue Jul 21 12:10:01 2020

Copyright (c) 1982, 2020, Oracle. All rights reserved.


SQL>
Step 2: download Oracle ATP client credentials (Oracle Wallet)
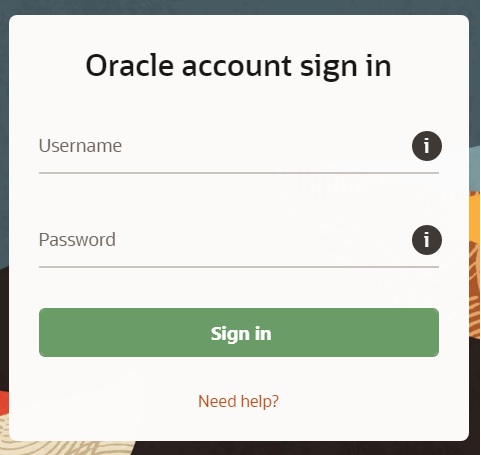
To be able to connect from your client computer to an Oracle Cloud database you first need to download the client credentials (the so called “Oracle Wallet”) from the Oracle Cloud portal site. Note that if you already have a working SQL Developer connection, you probably already have this wallet file somewhere on your system.
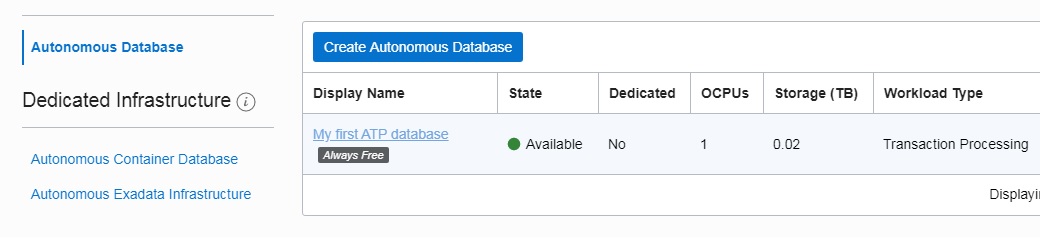
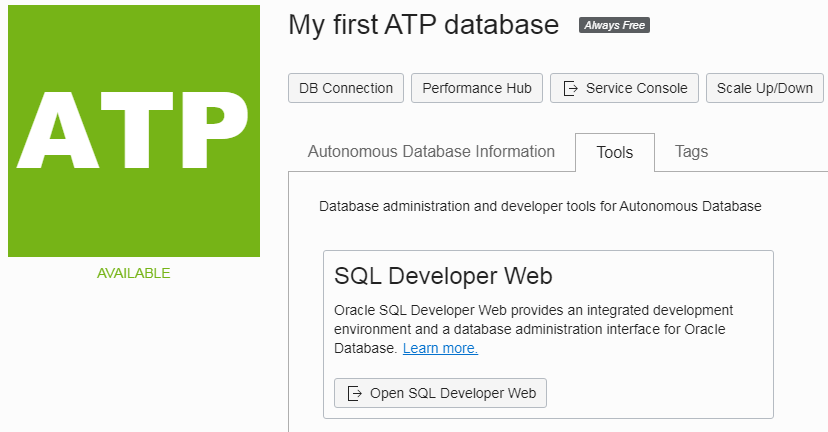
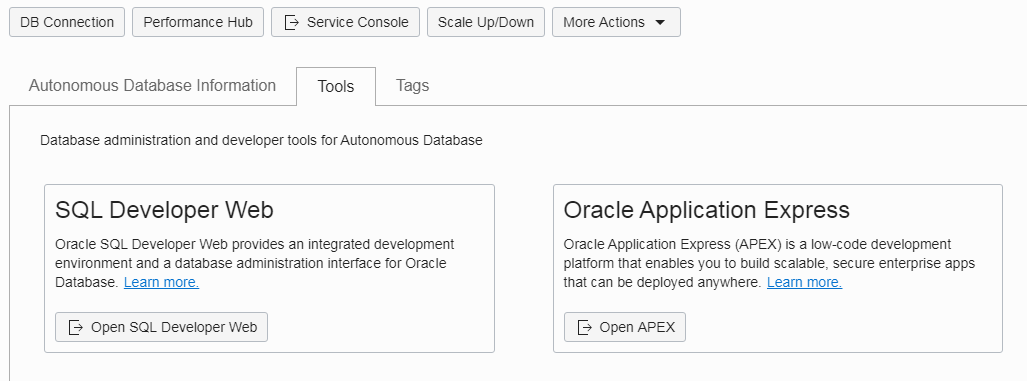
Log in to the Oracle Cloud portal and click on the name of the database you want to connect to. Now click on the tab “DB Connection”. The following pop-up window will appear:
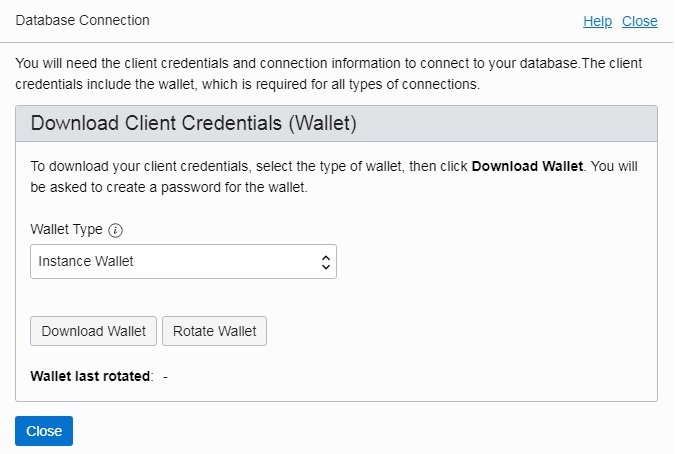
You now have the choice between “Instance Wallet” (a wallet for the selected database instance) and “Region Wallet” (a wallet for all the databases in the current region). Select “Instance Wallet” and click on “Download Wallet“.
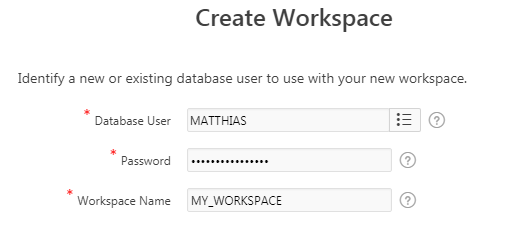
You are now asked to create a complex password for your wallet:
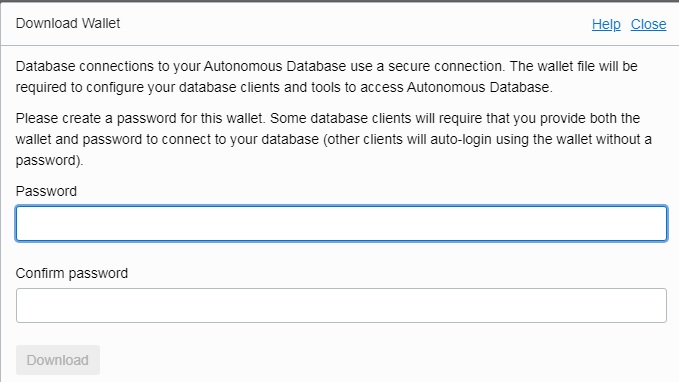
Download the ZIP file and put it in a local folder on your client computer.
Step 3: connect from SQLcl to Oracle Cloud ATP
To connect with SQLcl to your Oracle Cloud ATP database, use the following steps:
- Go into the SQLcl “bin” folder and run the following command:
- sql /nolog
- Configure the SQLcl session to use the previously downloaded Oracle Wallet:
- set cloudconfig C:\Temp\Wallet_MATTHIASDB.zip
- Connect to the Cloud database using the required schema and service name (note that the service names are listed in the tnsnames.ora file in the zipped Oracle Wallet file)
- connect HR@matthiasdb_medium
Example from my computer:
c:\Program Files (x86)\sqlcl\bin>sql /nolog

SQLcl: Release 20.2 Production on Tue Jul 21 12:20:35 2020

Copyright (c) 1982, 2020, Oracle. All rights reserved.


SQL> version

Oracle SQLDeveloper Command-Line (SQLcl) version: 20.2.0.0 build: 20.2.0.174.1557
SQL> set cloudconfig C:\Temp\Wallet_MATTHIASDB.zip
Operation is successfully completed.
Operation is successfully completed.

Using temp directory:C:\Users\Matthias\AppData\Local\Temp\oracle_cloud_config3396158891494649054
SQL> connect HR@matthiasdb_medium
Password? (**********?)

Connected.
SQL>
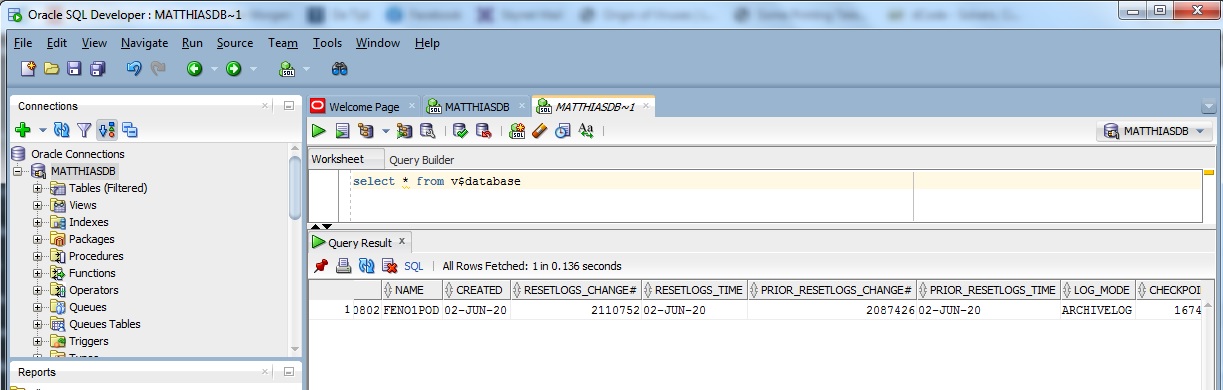
Now try to run some SQLcl commands!
SQL> set sqlformat ansiconsole

SQL> desc employees

Name Null? Type
_________________ ___________ _______________
EMPLOYEE_ID NOT NULL NUMBER(6)
FIRST_NAME VARCHAR2(20)
LAST_NAME NOT NULL VARCHAR2(25)
EMAIL NOT NULL VARCHAR2(25)
PHONE_NUMBER VARCHAR2(20)
HIRE_DATE NOT NULL DATE
JOB_ID NOT NULL VARCHAR2(10)
SALARY NUMBER(8,2)
COMMISSION_PCT NUMBER(2,2)
MANAGER_ID NUMBER(6)
DEPARTMENT_ID NUMBER(4)

SQL> info employees
TABLE: EMPLOYEES
LAST ANALYZED:2020-07-08 22:01:07.0
ROWS :107
SAMPLE SIZE :107
INMEMORY :DISABLED
COMMENTS :employees table. Contains 107 rows. References with departments,
jobs, job_history tables. Contains a self reference.
Type “help” at the command-line if you need help on a specific command. Type “version” to see the version of SQLcl you are using. Note that you can also use the keyboard arrows to scroll between previously executed commands (something that is not possible with SQL*Plus).
That’s it! You can now use SQLcl to connect to Oracle databases in the Cloud.
HTH
Matthias